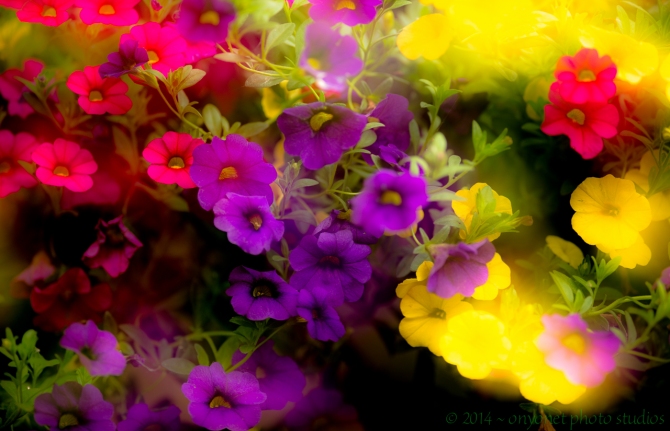
These gorgeous liitle flowers brighten up any spot so well they seem to glow even in shade. This impression creates that glowing feeling you get when see this basket of beauties. Each flower is only about an inch across, but there are so many of them they reach out and grab your attention.
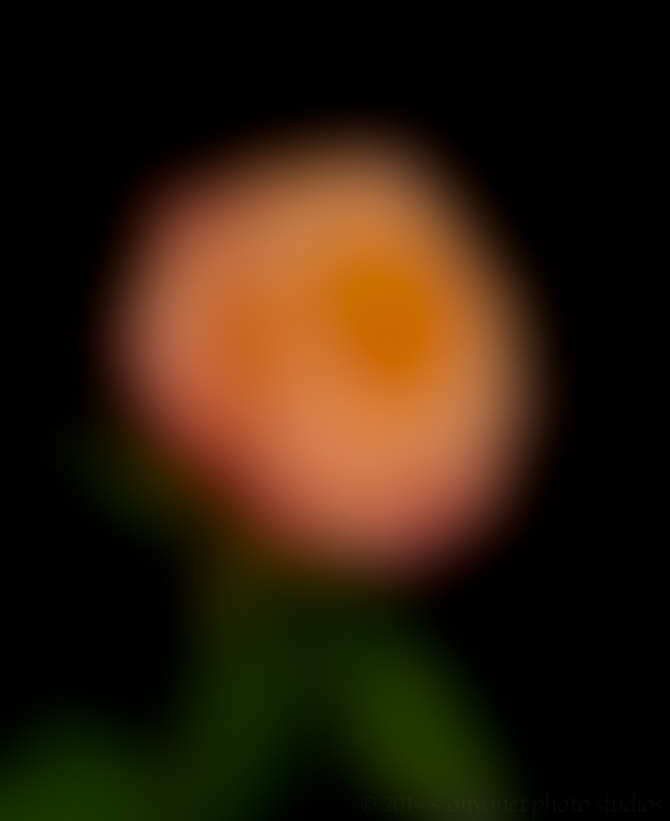
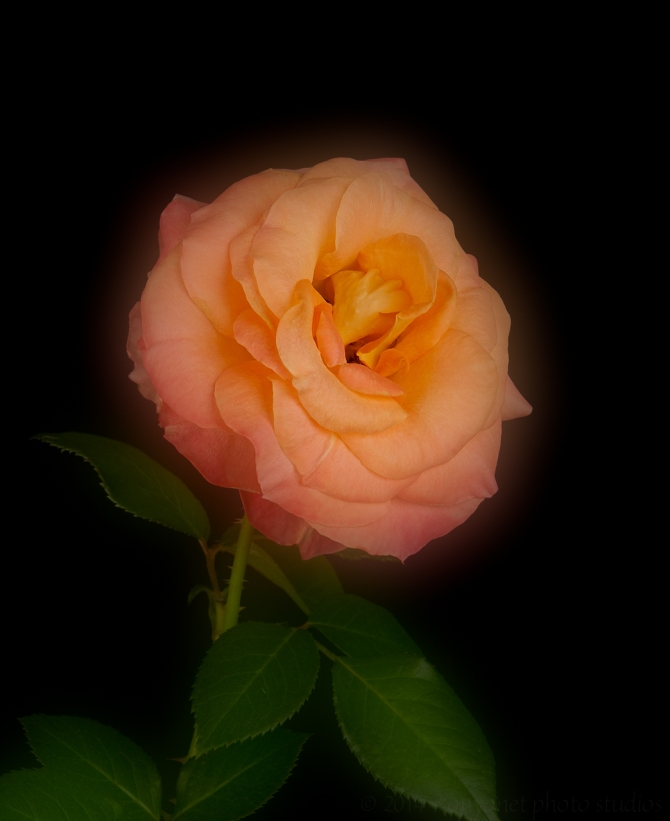
Using the multiple exposure function I blurred the second shot just a little bit to create the glowing effect. If your your camera doesn’t have a multiple exposure feature look for a function that will combine two existing photos in-camera. Take one shot with the subject in focus. Without moving too much, a little is ok, defocus the subject just enough to cause everything to blur a little. Take the second shot. If you’re using this combine feature, you can try taking several “second” shots and combine the photos more than once. Never judge the quality of your results by looking at the camera LCD. Wait until you get the photos on your computer so you can see everything large enough and not as just some crummy jpg inside your camera.
Don’t have a combine feature either? Ok, how about some software that has layers? If you can’t afford software like Photoshop, look for GIMP online. My understanding is GIMP is an excellent free software that allows you to do all things Photoshop does.
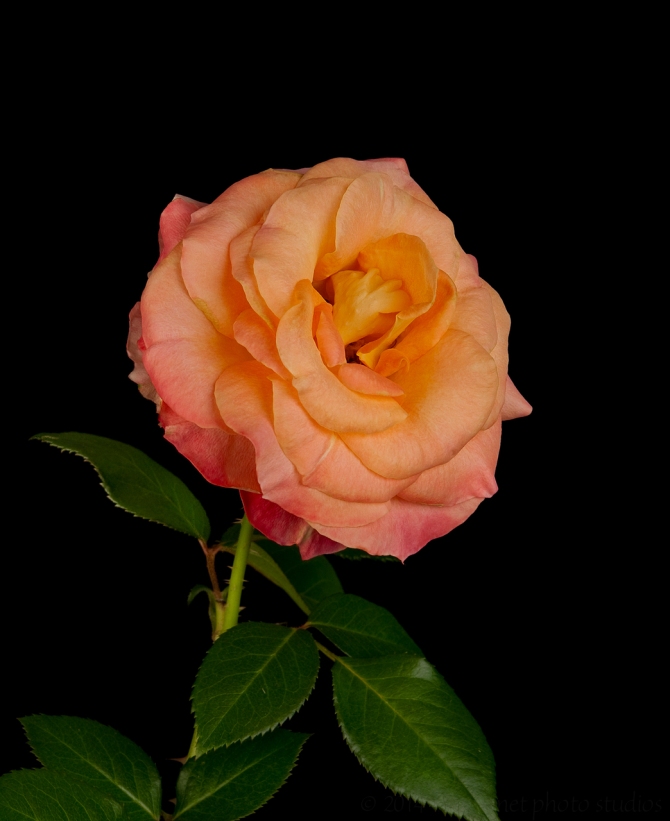
There are at least two ways to accomplish this with software. Use only the sharp photo or use the sharp photo plus a defocused photo (created as explained above). I say at least two because that’s all I know. There may be other ways that I just haven’t discovered or heard of yet.
Using the same photo:
- Open the photo
- Copy the layer to make a second layer of the same photo
- Use the blur filter, in Photoshop I would use Gaussian Blur, and blur this layer. How much is up to your vision of the final photo. You may have to come back and change the amount if you don’t like the end result
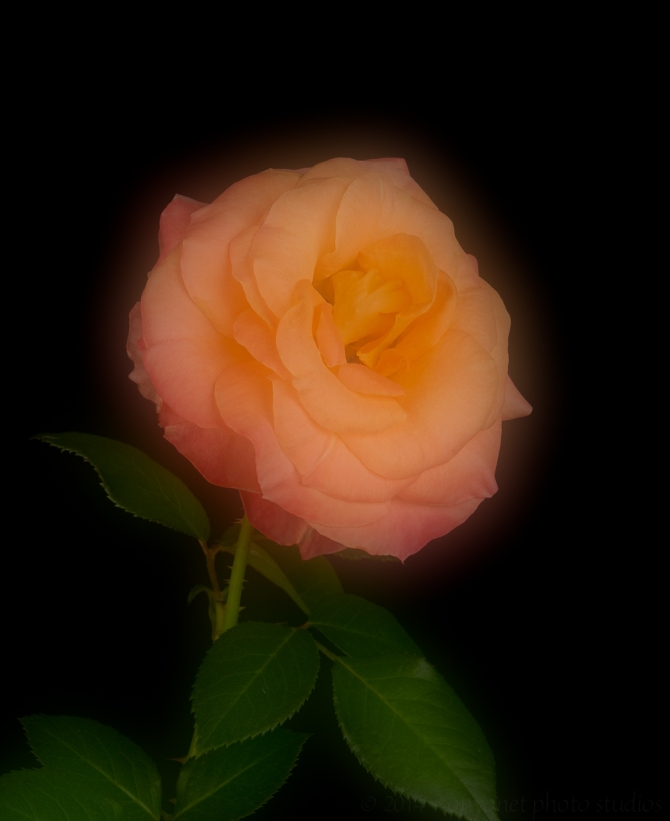
- Change the Opacity of the blurred layer. How much again depends on your vision. You’ll see the effect as you change the opacity so you can leave as much or as little glow as you like
- If you want to show less glow in some areas, add a layer mask. Then, using a brush tool, you can remove the glow by painting over the areas where you want less glow
The concept for using two different photos is the same as using one photo. Your second blurred photo takes the place of creating the blurred layer. Adding the blurred photo to the the sharp photo will create a layer on top of the sharp photo layer. Change the opacity of the blurred layer and add any painting touches you want. That’s it, you’re done.
If you try any of these techniques I would love to see your results. Just comment on any of my posts with a link to your photo and I’ll check it out.
~ Daniel Kmiecik

Fantastic, thanks for sharing!
LikeLiked by 1 person
Thanks. You’re welcome.
LikeLike